How To
How To Roll The Perfect Joint- A Step By Step Guide
Sep
How To Roll The Perfect Joint- The Ultimate Guide
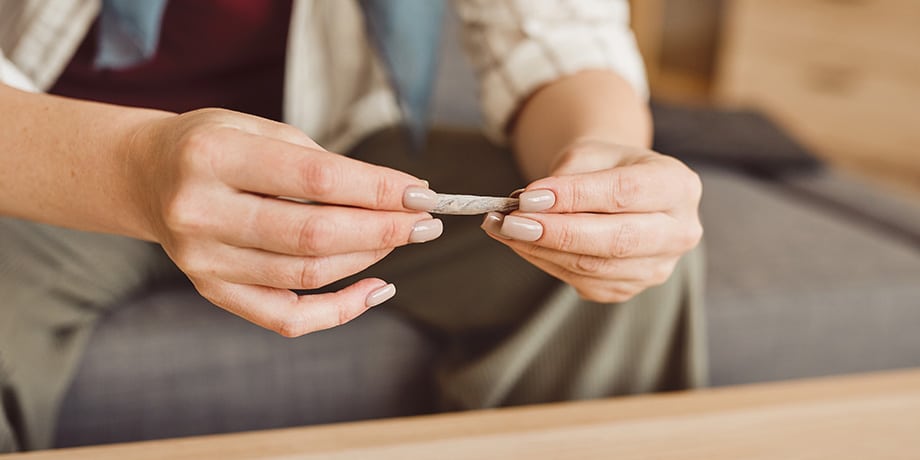
So you want to learn how to roll the perfect joint? The joint is a perfect way to enjoy the tastes, aromas and high from your cannabis flower.
Sure, you can buy pre-rolls, but where is the fun in that?
Rolling a perfect joint is a skill that every marijuana user should learn – think of it as a stoner’s rite of passage.
If you are apprehensive about rolling your joint, don’t worry since our step by step guide will show you precisely what you need to do to make the perfect joint.
What You Will Need To Roll A Joint
Before you get started, you will need to gather some materials:
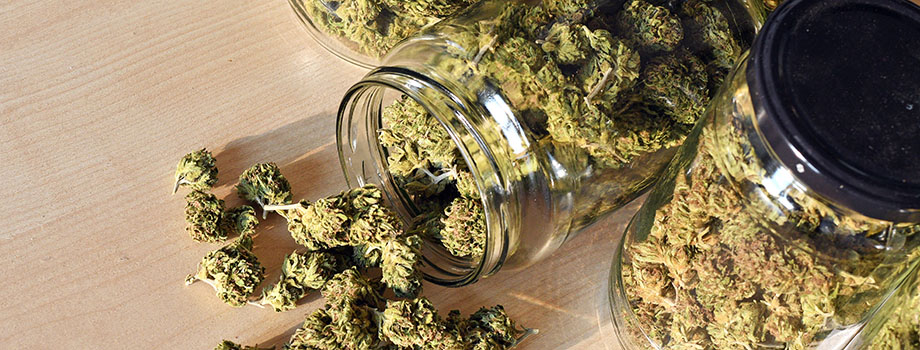
- Pick a cannabis strain of your choice.
- Rolling papers
- Filter/crutch
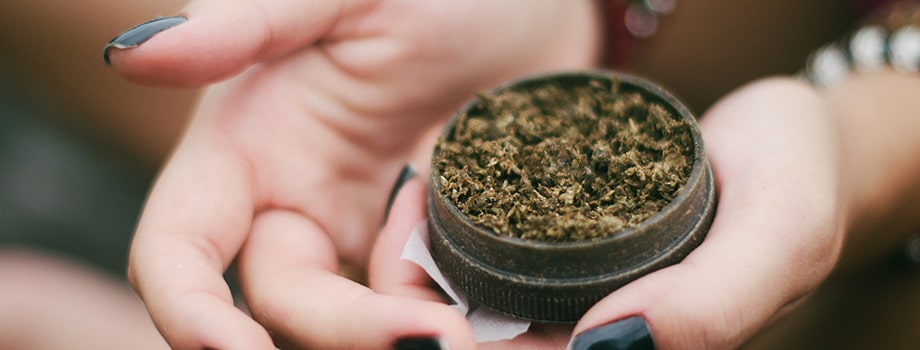
- Grinder
- A pen or something similar – to pack the joint
- Rolling tray
How To Roll A Perfect Joint- Step By Step Guide
Once you have gathered your supplies, follow the following 8-step guide:
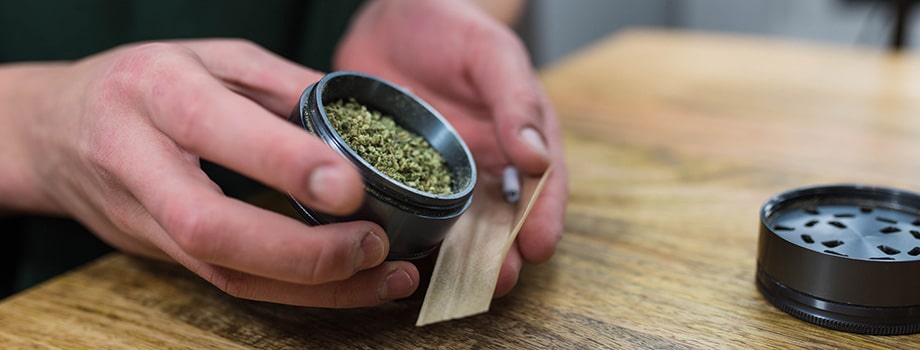
Step 1: Breakup Your Flower
Wondering what you need a grinder for? You need to break down your bud into a suitable size using your grinder.
You want your ground-up flower to be crumbly and free of stems. This ensures that the final product burns evenly.
To achieve this, drop a bud into your grinder and twist until you can twist without much resistance.
Although you can use your hands to break down your weed, a grinder saves you time and prevents your fingers from sticking on the rolling paper.
Don’t break your bank, though – if you can’t get a grinder, use your hands, scissors, or anything that can break apart your bud.
Step 2: Create a Joint Filter/Crutch
A crutch or filter will act as a mouthpiece for your joint. It is also referred to as a joint tip.
Some people say a joint filter is not absolutely necessary. However, we recommend it because it will help prevent bits of your flower from slipping out and into your mouth as you smoke.
A crutch will also:
- Keep the end of your joint open.
- Maintain the shape of your joint (keep it sturdy).
- Protect you from burning your lips or fingers as you smoke.
- Promote airflow through the joint, thus making the smoking easier.

How To Roll a Perfect Joint Filter
You can make a joint filter out of just about anything, but business cards or thin cardboard works great.
Start by making a few accordion folds at the end of your rolling paper. While some people simply roll the cardboard into cylinders, this may leave a hole that might allow your flower to fall through. The accordion folds prevent this.
Once you have made the accordion folds, roll the rest of the material to the desired thickness of the joint.
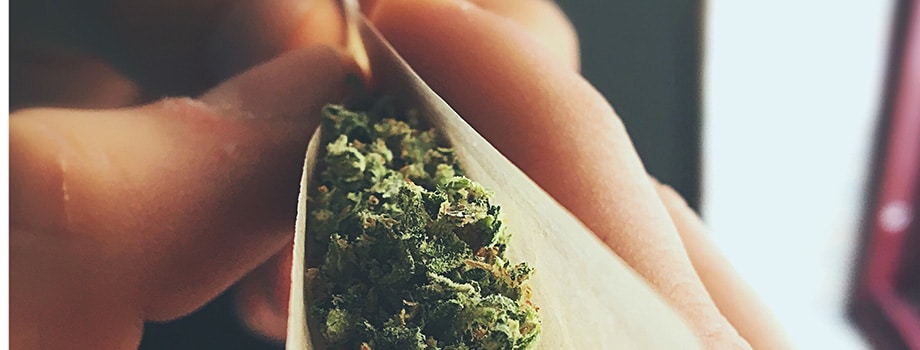
Step 3: Fill Up Your Joint With Cannabis
Get a fresh sheet of rolling paper and place it on a tray to hold the ground flower. Take some of your weed and drop it along the crease, leaving enough room for your filter at one end.
Once you have put the right amount of weed into the paper, use your fingers to shape your joint.
The idea is to come up with a cone-shaped joint as it offers a smoother smoke.
To achieve this, use your fingertips to pinch the paper and roll it back and forth between them. This helps pack the weed down into a cone shape.
However, if you are trying for the first time, you can settle for straight joints as they are easier to make.
POINT TO NOTE: There are many types of joint papers – most people will choose hemp papers since they are thin,strong and natural. They also burn evenly and do not affect the aroma of your weed.
Step 4: Roll Your Joint
You are now ready to roll up your joint.
Hold your paper containing the ground weed and roll it gently as you move your fingers from left to right. This helps distribute your weed evenly.
Insert your crutch (you made it at step two) into one end of the paper.
Roll the paper back and forth to ensure the edge of your paper overlaps the crutch.
Step 5: Tuck, Lick, and Stick
This step determines how fast your joint will burn.
Start from the crutch and focus on eliminating all the slack in the rolling paper.
Using your hand, tuck the first part of the paper from the crutch, and slide towards the end, as you slowly tuck in the rest.
Once you have tucked your entire roll, lick the glue strip, and stick it all together.
PRO TIP: To avoid smoking too much paper, burn off the excess after sealing it. Be careful not to seal it up too tightly as this will make it hard for you to draw in smoke or take a hit. Don’t roll it too loosely either as this will cause it to burn too quickly or unevenly.

Step 6: Pack Up Your Joint
Use a pen, chopstick, or any pointy object to pack the end of the joint. The idea here is to press down the weed through the open end to maintain an even burn.
You can also put back any small weed pieces that fell out earlier through the open end.
Finally, hold your joint in an upright position from the filtered end and gently tap it on a flat surface.
This helps give the crutch a little ‘tap’ to connect it with the marijuana.
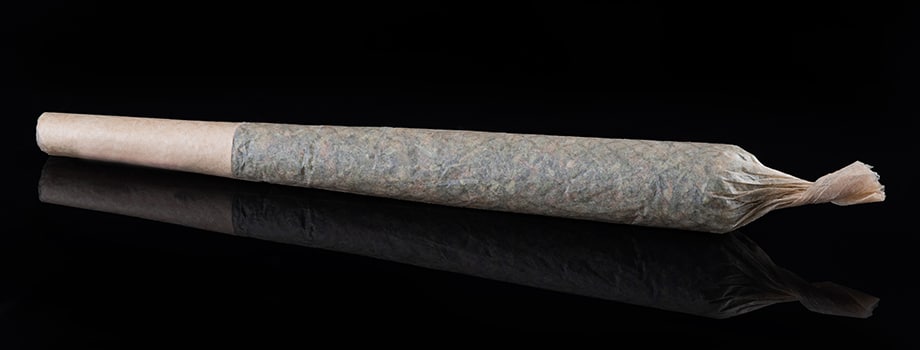
Step 7- Seal The Open End
If you are not using your joint right away, seal the open end by twisting the extra paper.
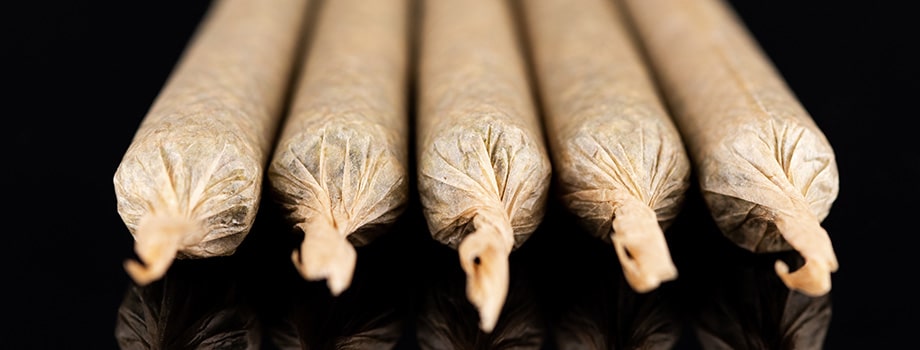
Step 8- Enjoy
Congratulations! You have successfully made your first hand-rolled joint.
Now all you have to do is to light up your joint and enjoy the sweet weed you just rolled.
POINT TO NOTE: your joint will taste better the first time you light it as opposed to smoking half, putting it out, and then relighting it back up later on. To avoid having to relight the joint later, you can always share it with your friends. This is also a great way to showcase your newly acquired skills, and well, weed is way more enjoyable when shared!

What To Do If You Run Into Problems
If you follow our guide to the latter, you should have a perfect joint. However, some issues may arise, interfering with the quality of your hand-rolled joint.
Here is what to do:
- The joint gets loose halfway through rolling – Sorry, but you have to start the rolling again. This time ensure a tighter pinch around the filter.
- When your joint burns unevenly – It could mean that your bud is a little too chunky. Make it finer the next time you grind.
- If it keeps going off and you need to keep relighting mid-session – This could mean that you ground your weed too much. You know what to do next time.

How To Roll The Perfect Joint – Take Away
You have just learned how to roll the perfect joint- nothing now should stand between you and the sweet aroma of your favorite cannabis strain.
Of course, you will need more practice to perfect the art, but with what you know now, you should not have to bother your friends to help you out the next time you meet for a smoke session!
Which part did you enjoy most? Did you face any troubles? We would love to hear your experience with rolling a joint.